Service Lines and Roles are used in SyncTimes to customize permission sets per staff, and are used in reporting to capture and group data appropriately based on service line and role.
Adding Service Lines of Specialties
For reporting purposes, providers and staff can be categorized into service lines or specialties. Admins have the ability to add "Service Lines" and Specialties and to assign users to their respective categories.
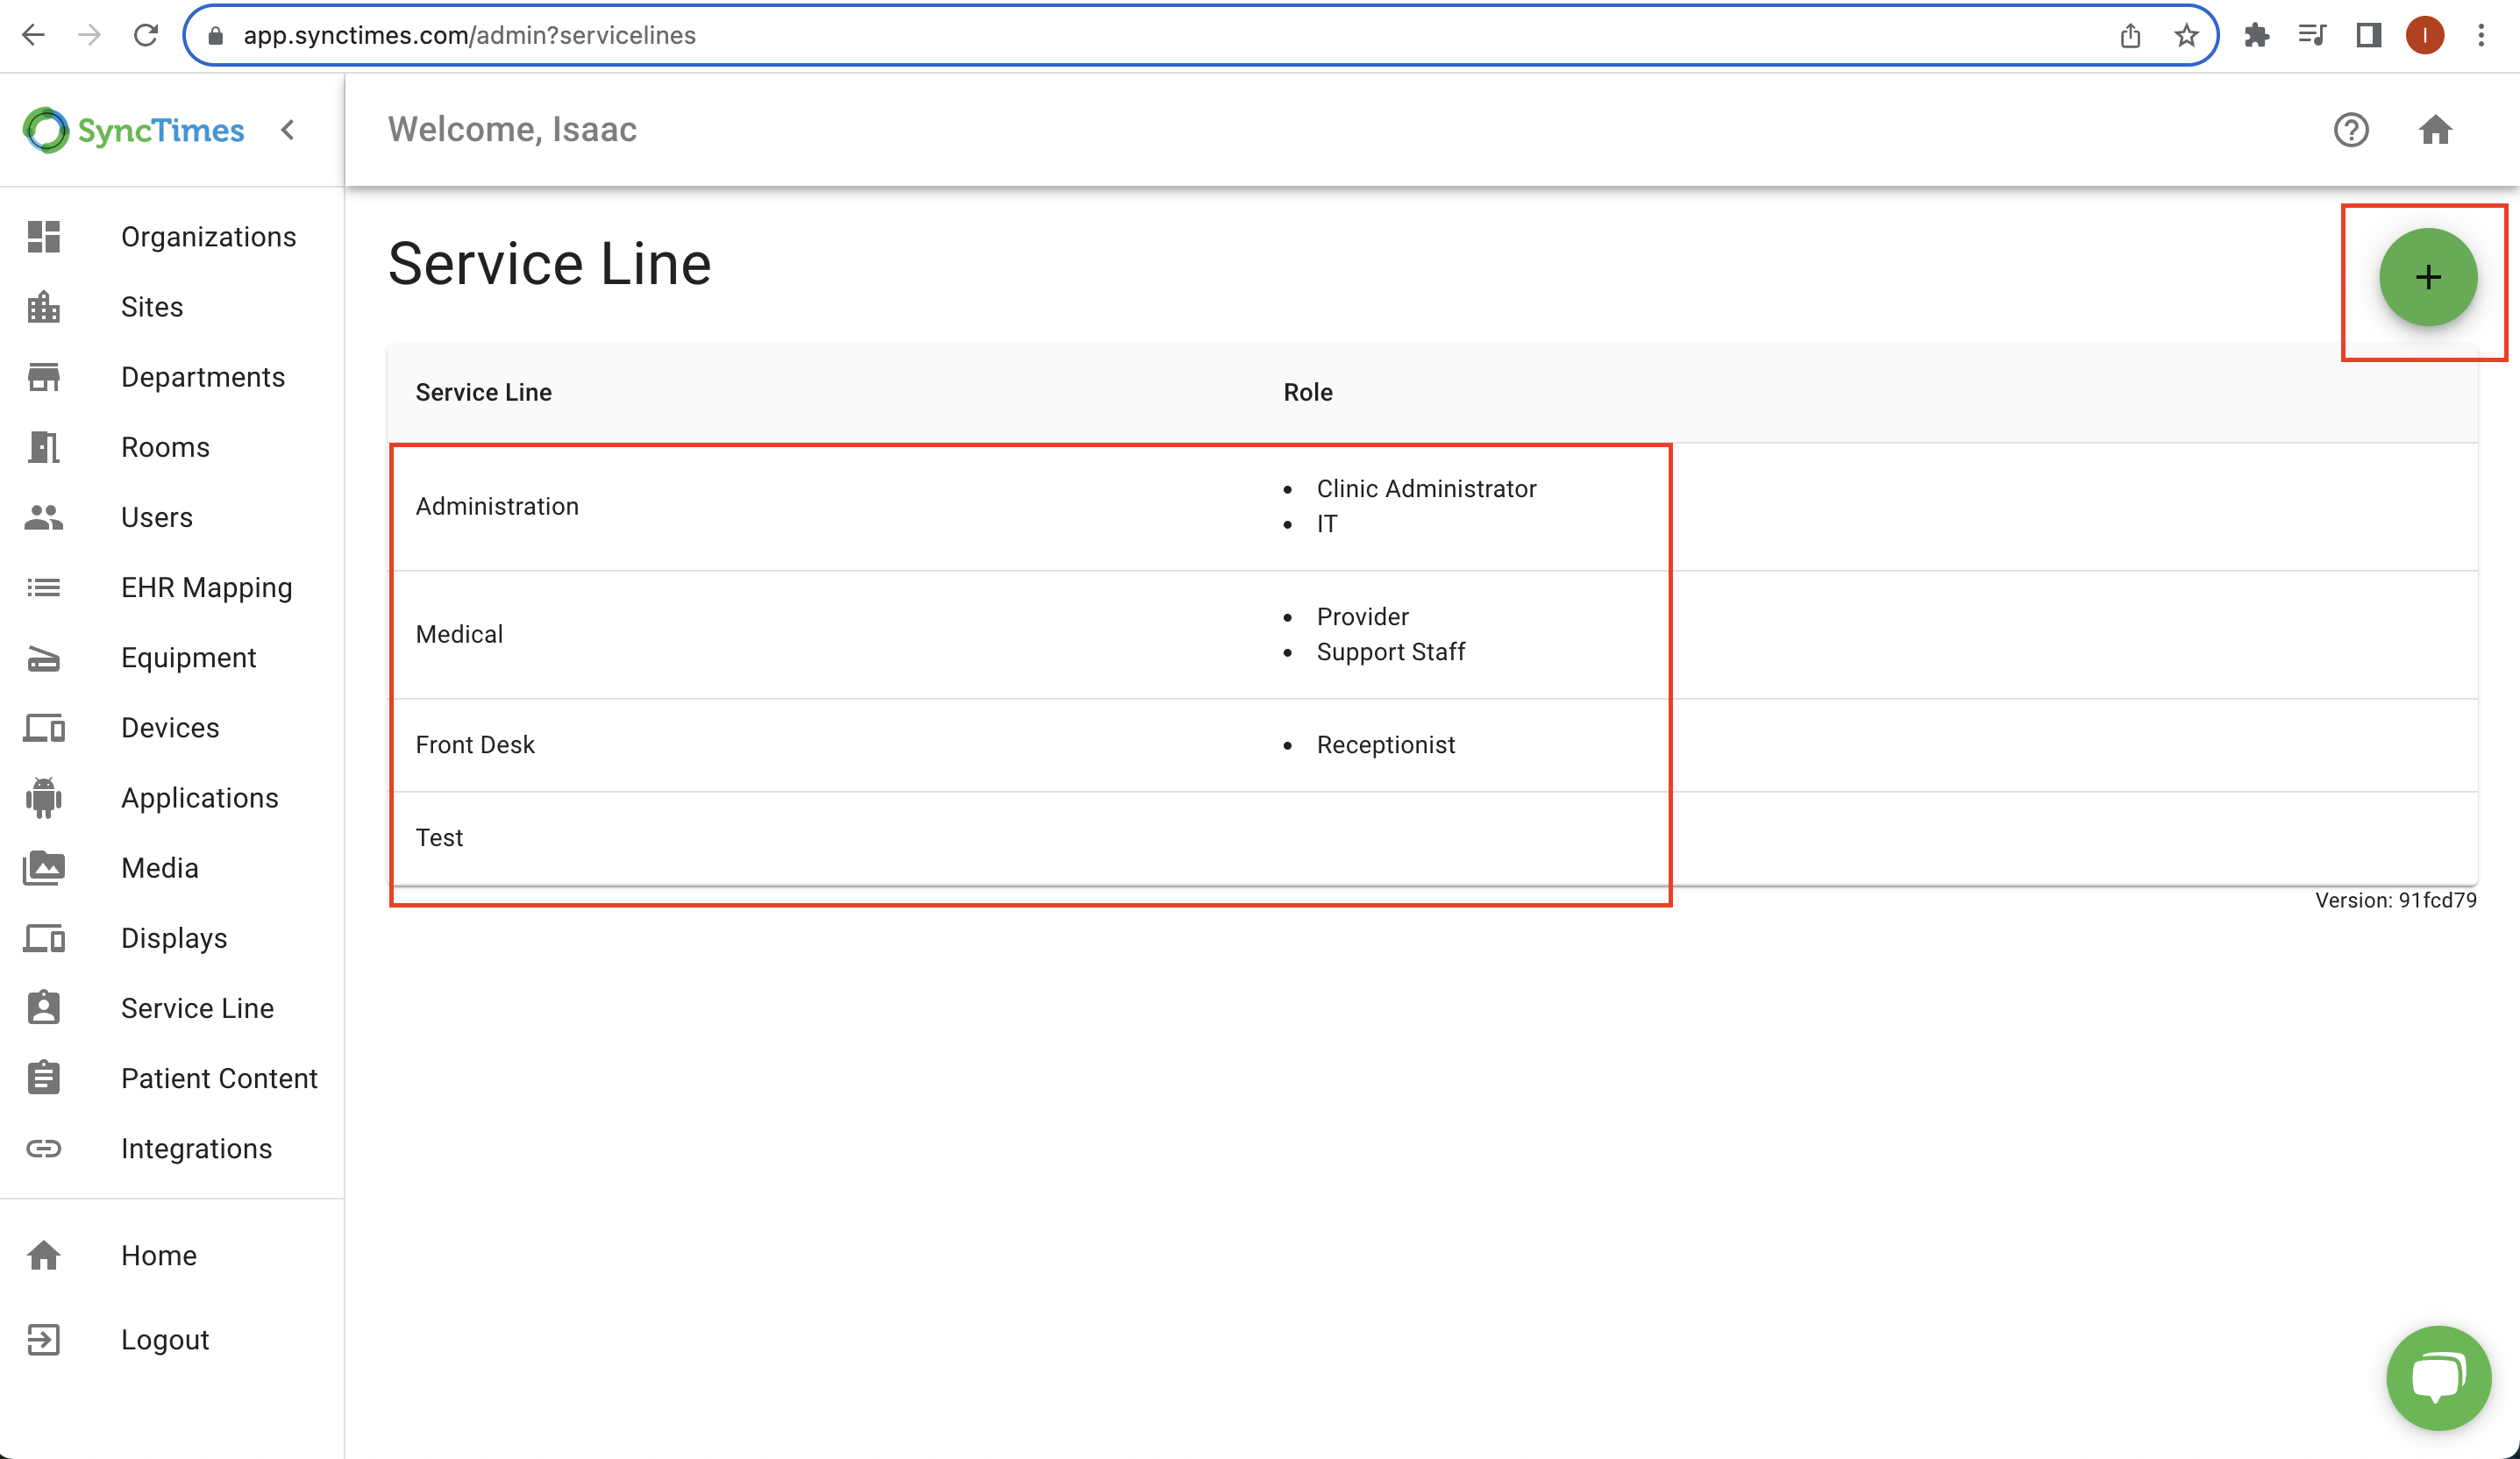
From the admin console select the Service Line option then the "+" icon to add Service Lines.
Once Service Lines and Specialties are created admins can change individual Users' Service Lines and Specialties.
Roles
You can also assign roles to users. These roles can be assigned to SyncTimes permissions which allows for convenience when adding new users to SyncTimes.
To add a role:
1. Go to the Service Line tab in your admin console
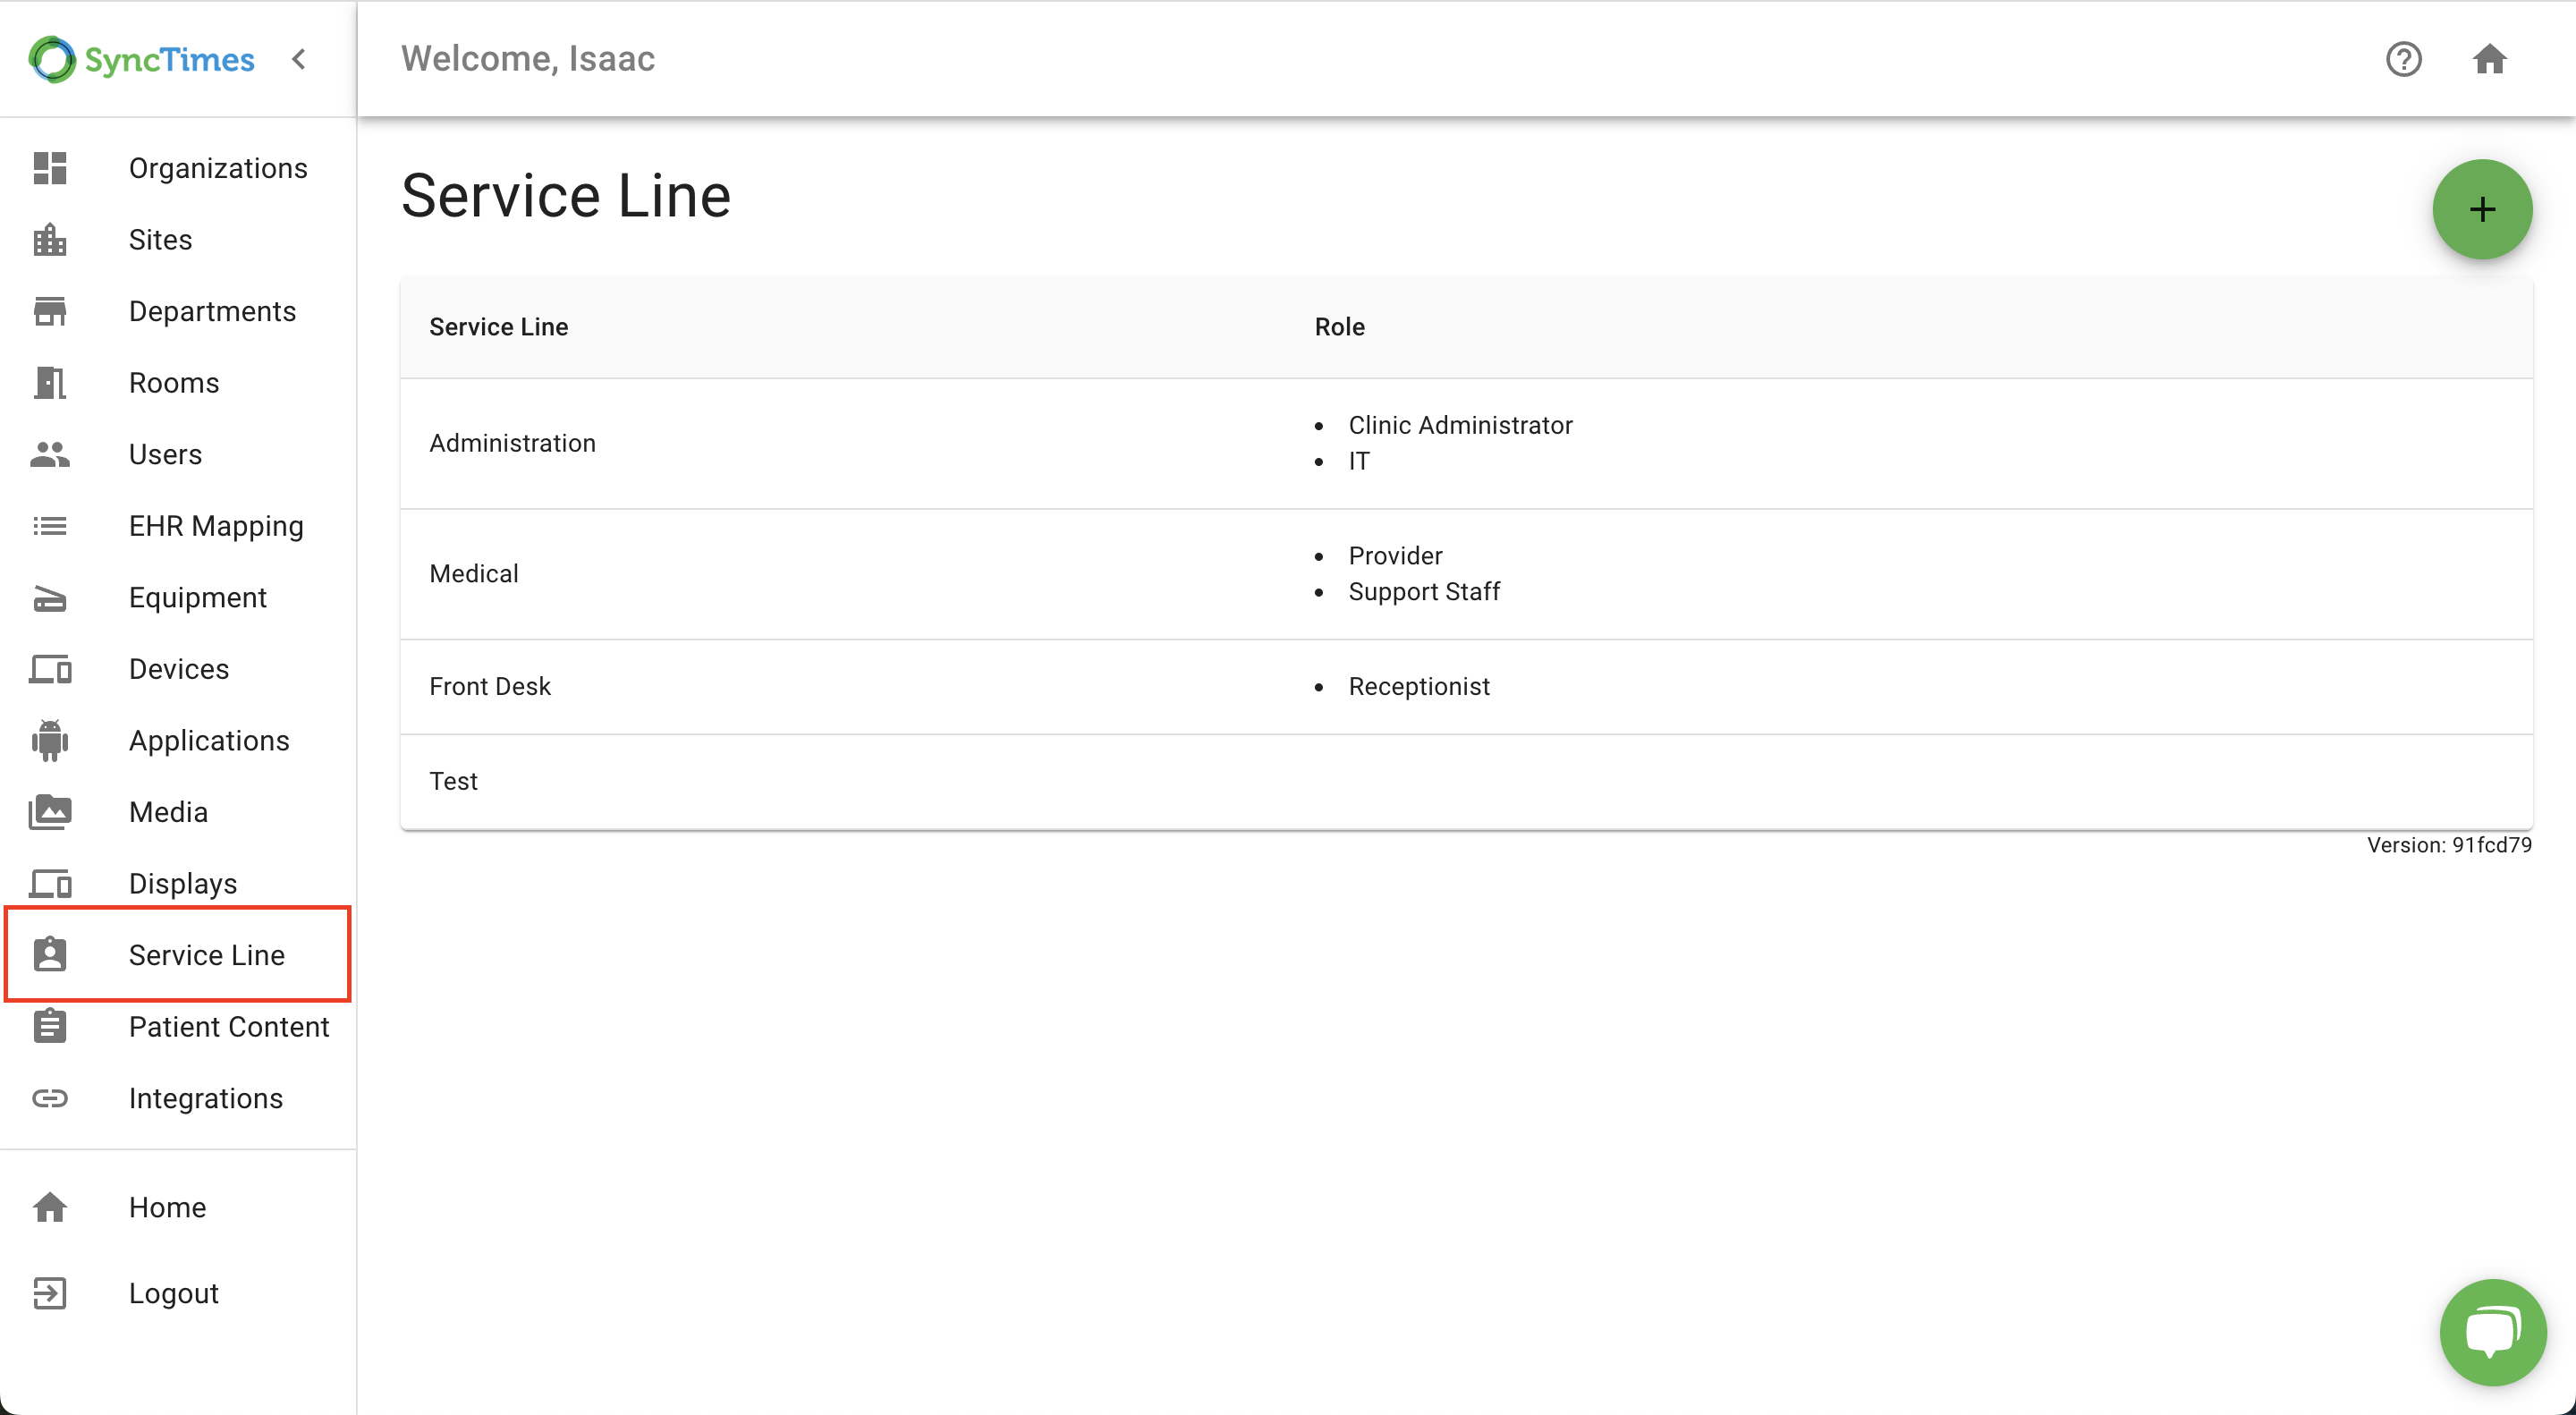
2. Either create a new Service Line (see above), or click on an existing Service Line to edit it.
3. Scroll down to "New Role Name" and add a new name.
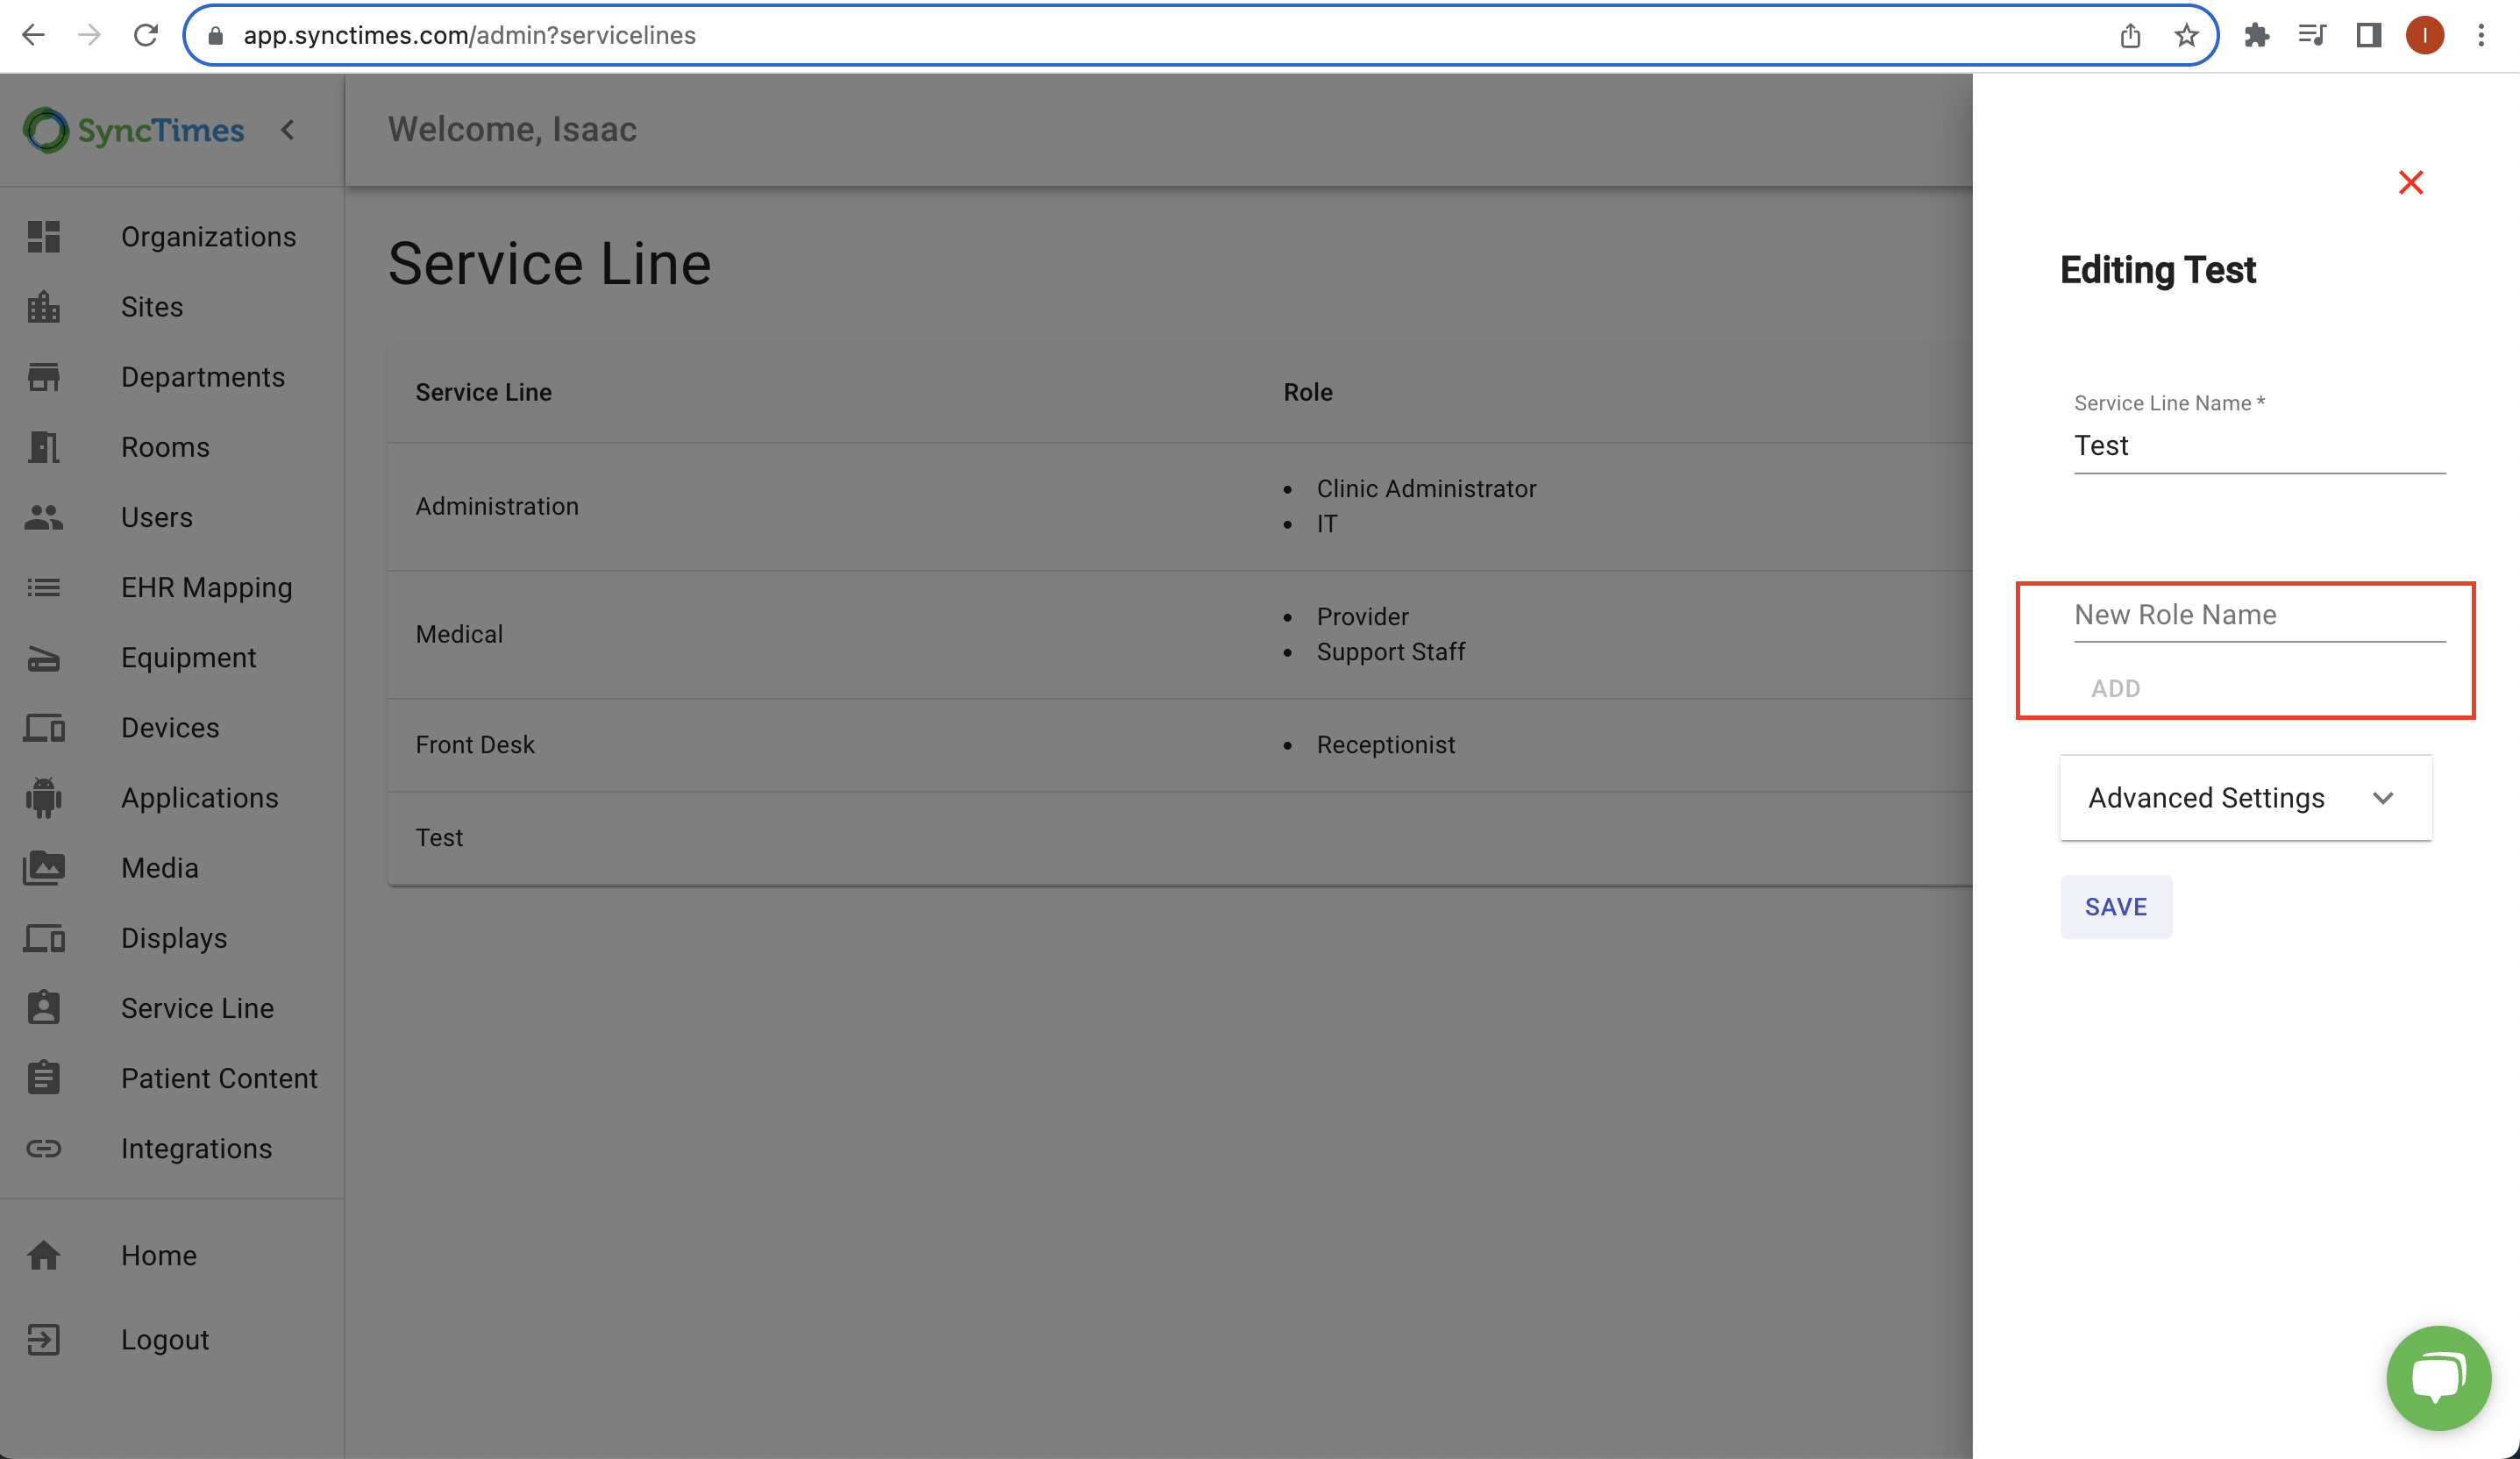
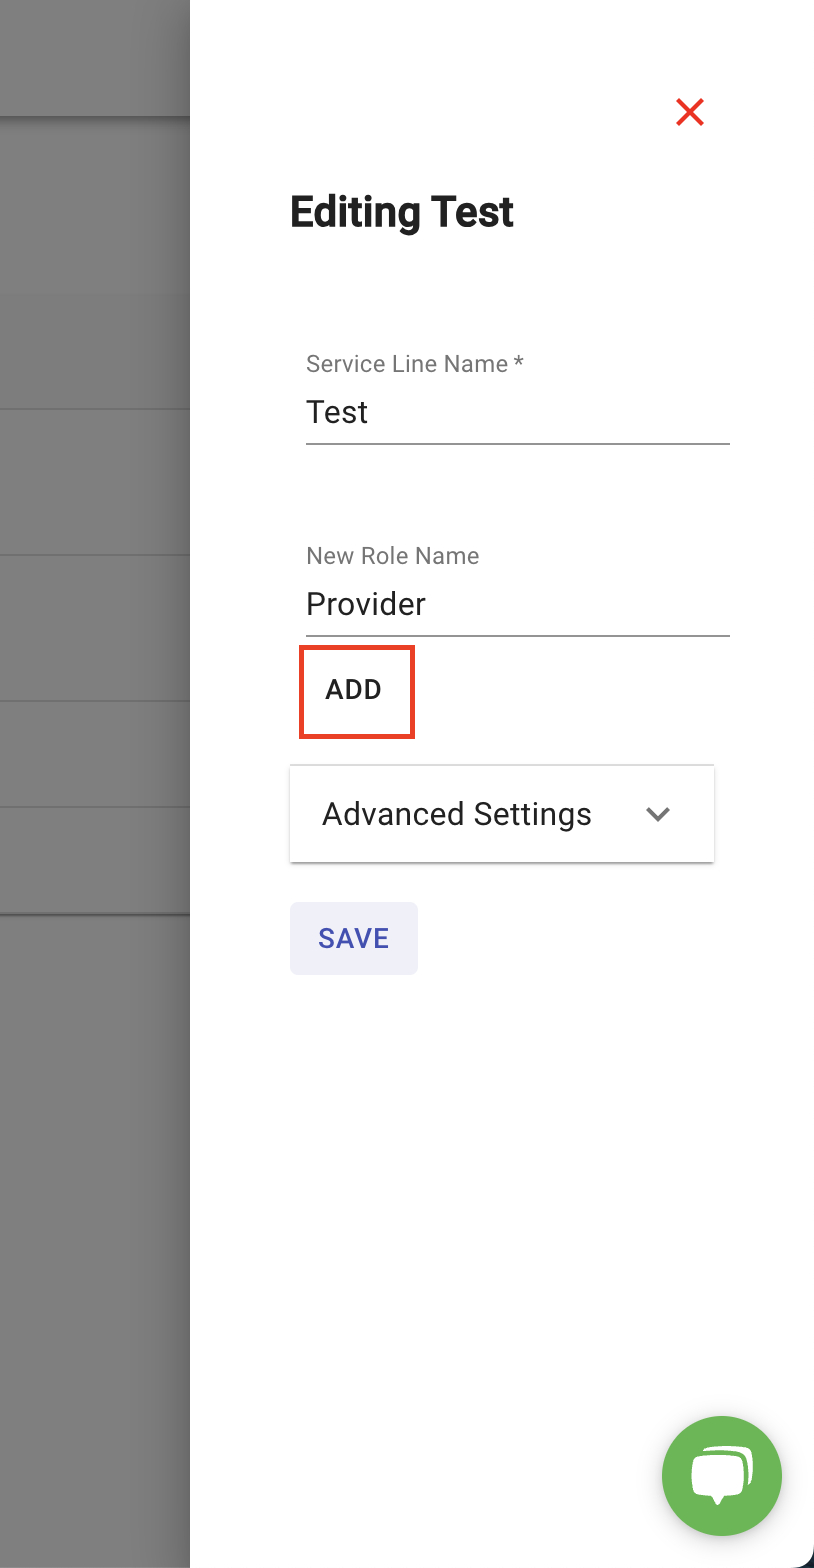

4. Then click "Add"

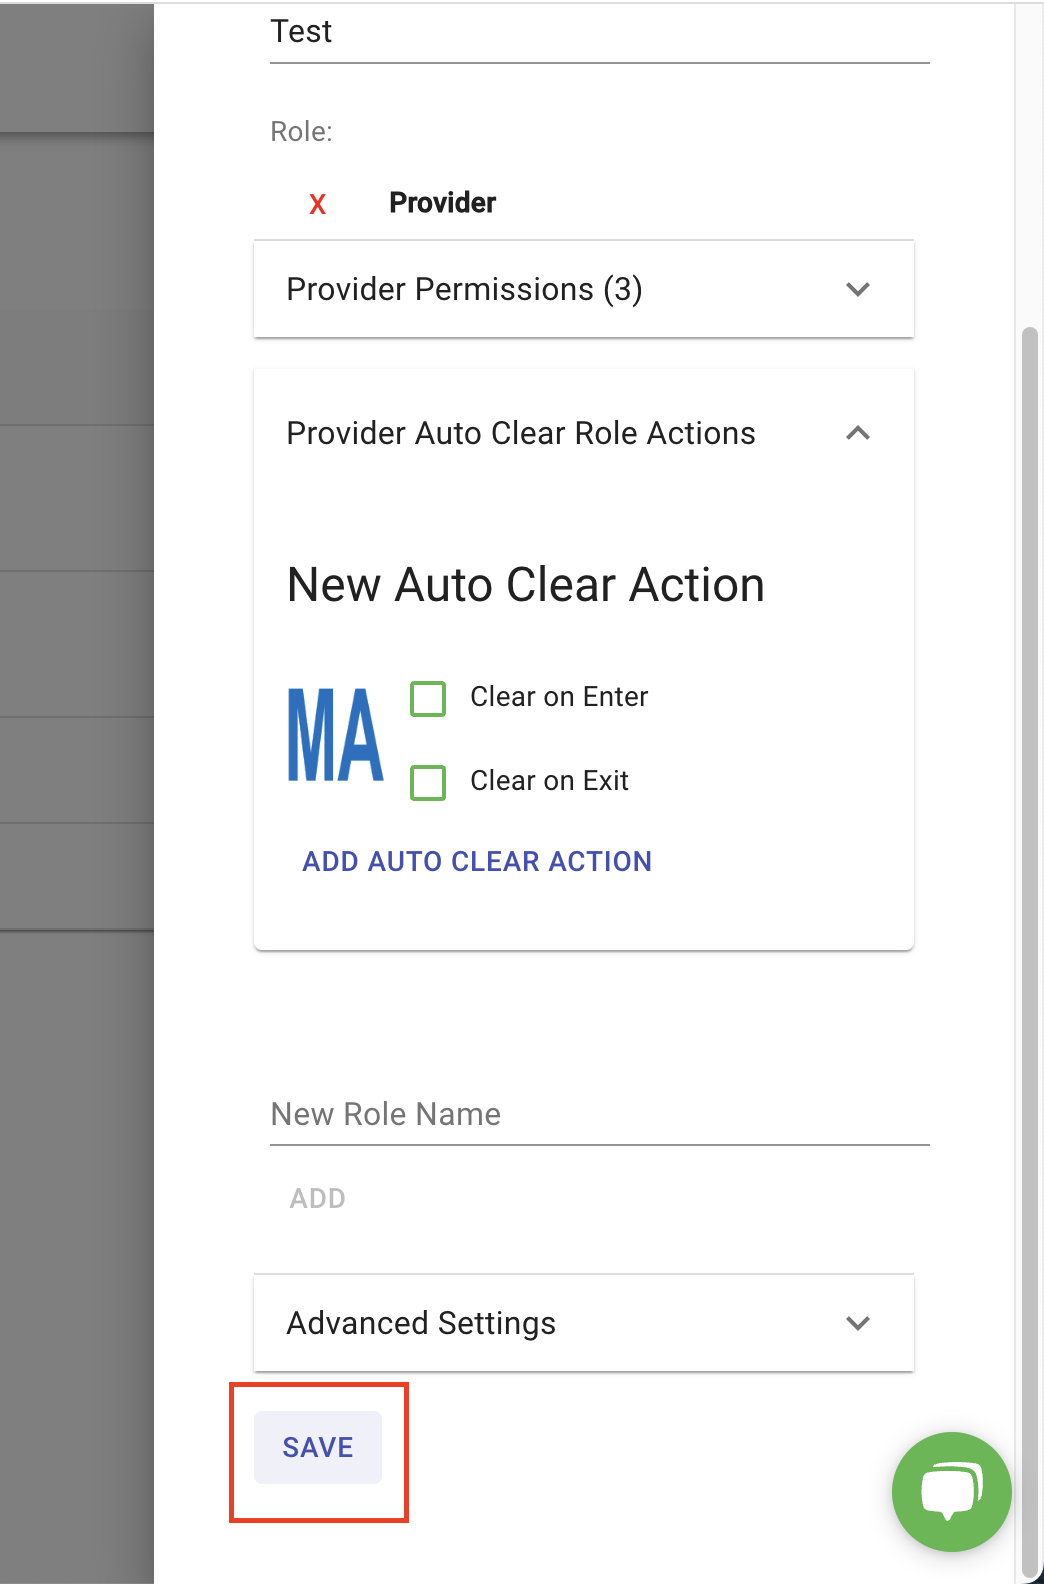
5. You'll notice that two drop down menus have appeared, "Permissions" and "Auto Clear Role Actions".
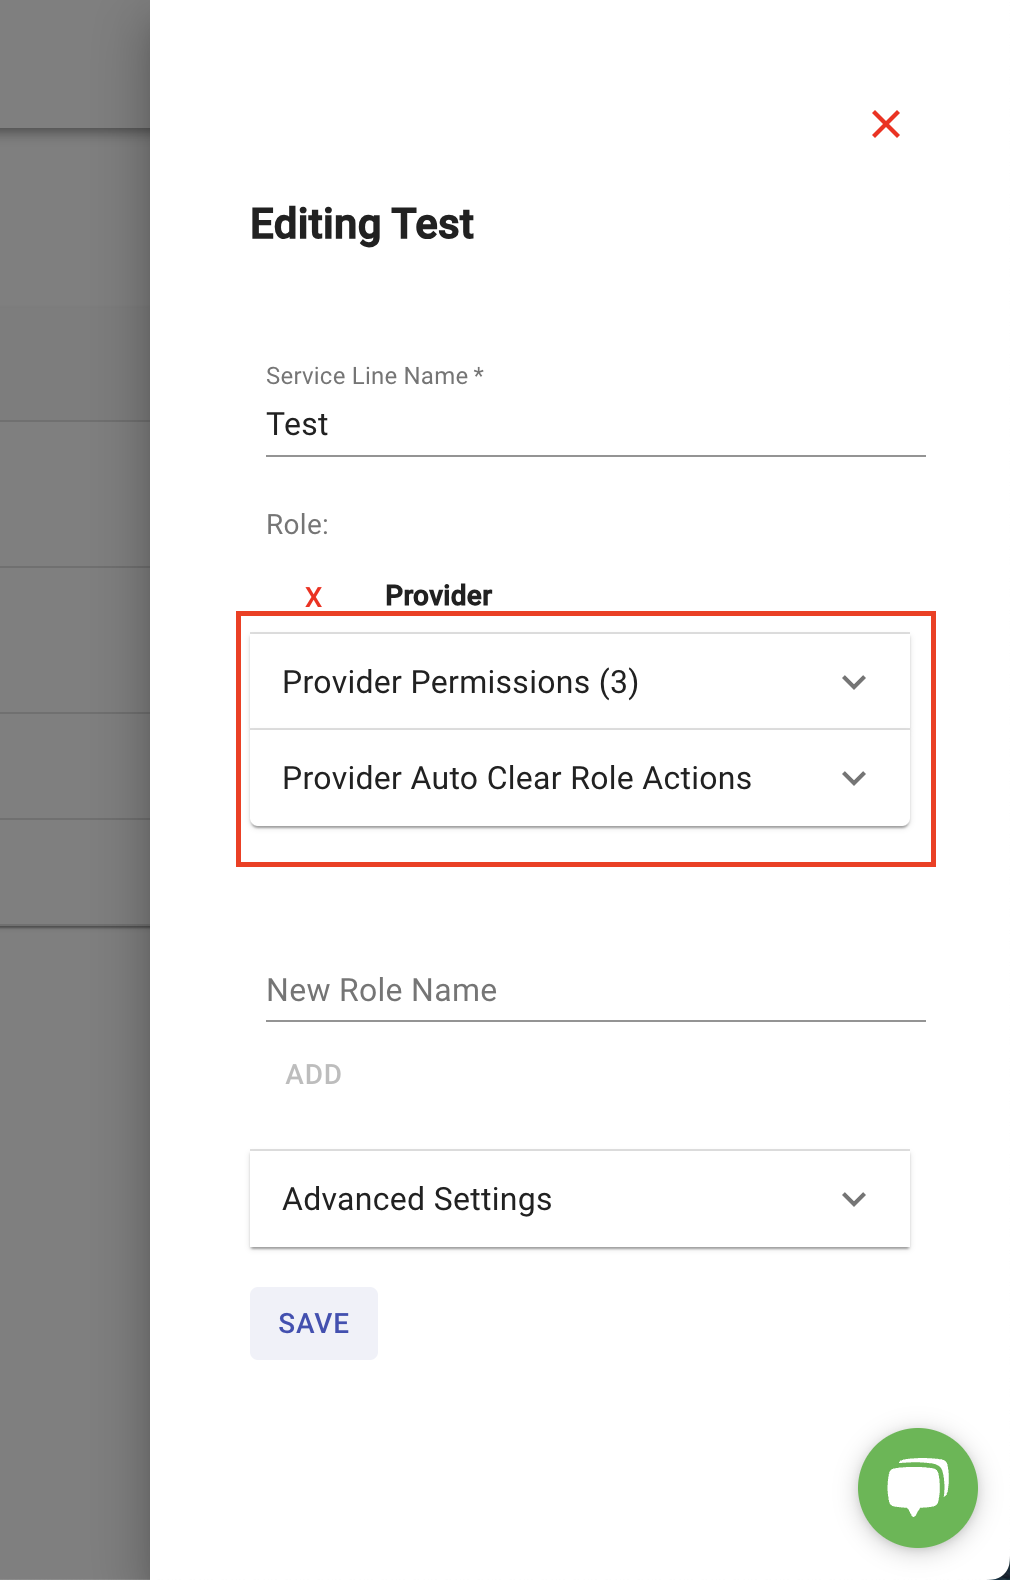
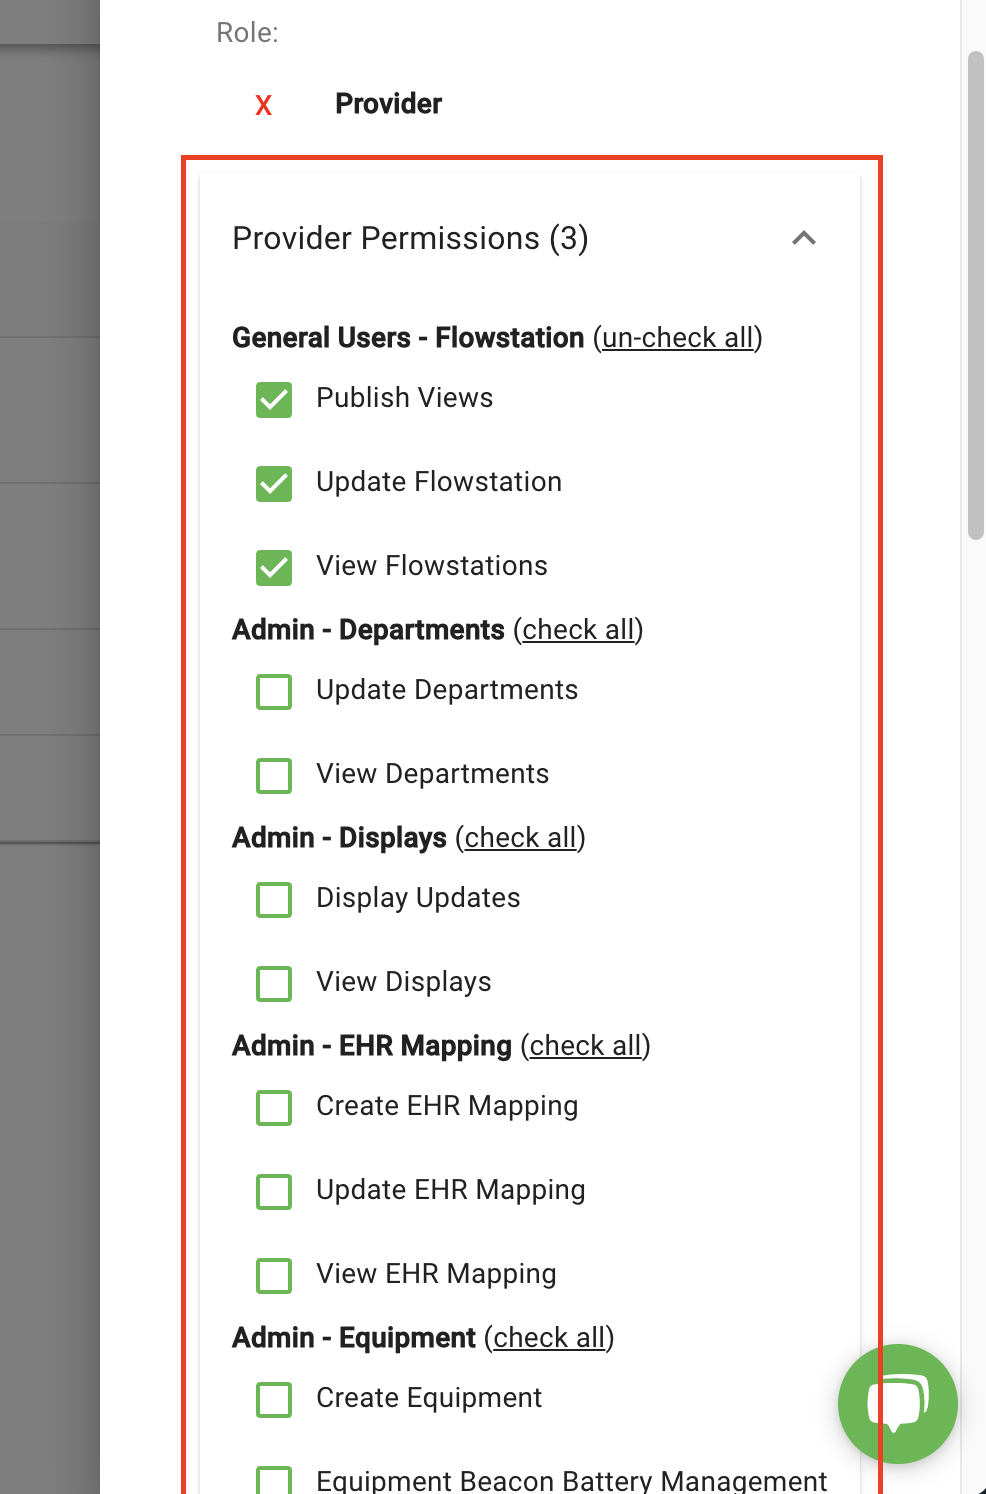

6. If you click on the "Permissions" drop down, a list of all the permissions will appear along with a check box next to them allowing you to select what permissions you want tied to that role.
7. Select what permissions you want to add to that role.

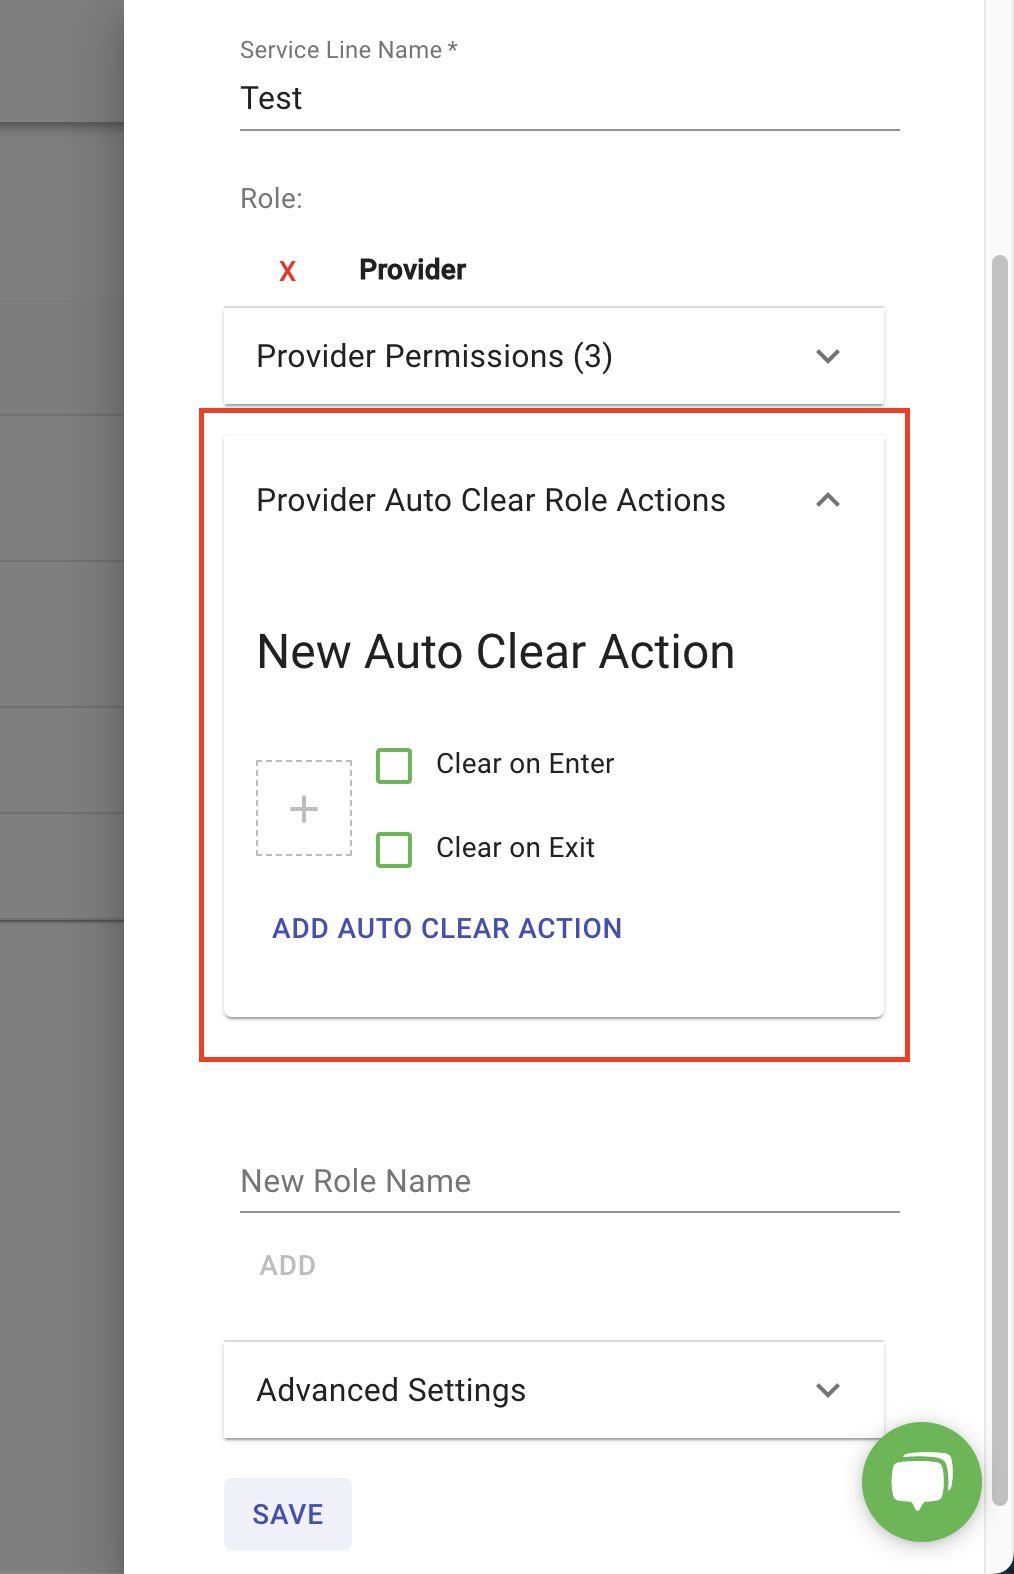
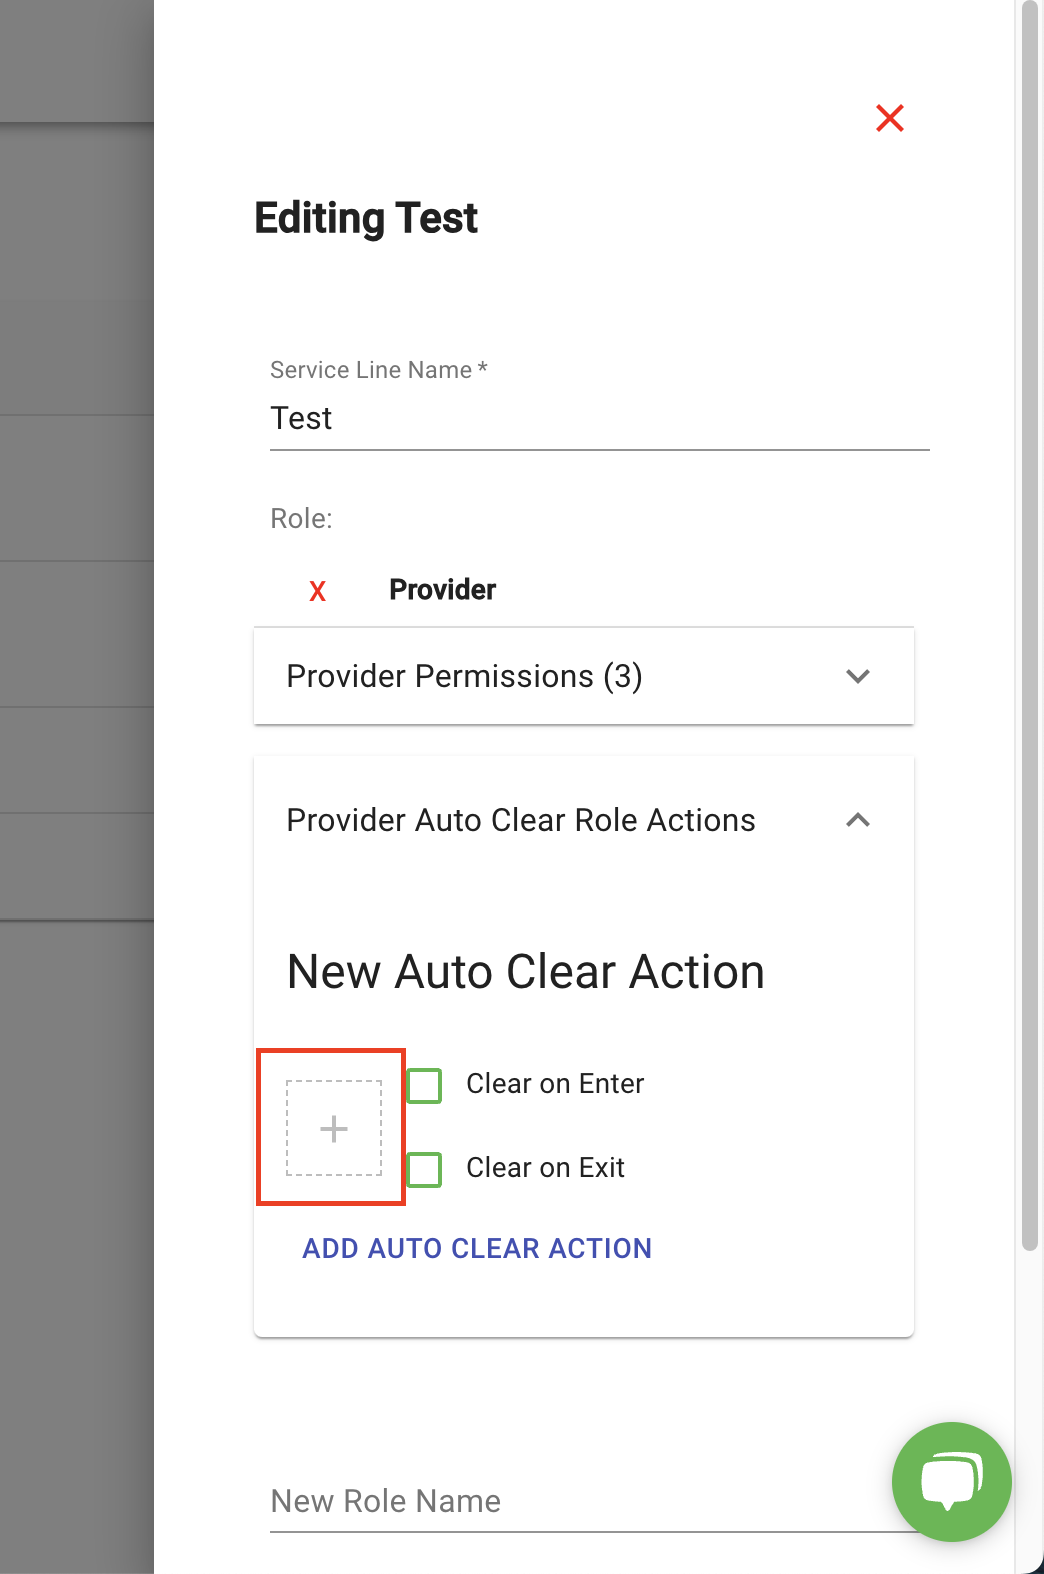
8. If you click on the "Auto Clear Role Actions" drop down, you'll see the following:

Note: Just like when the provider walks into the room and the "Ready For Provider" icon automatically disappears, you can do the same function, but for different roles. Meaning, if a user who has a certain role walks in or out of the room, the icon will automatically clear.
9. To do so, first add an icon by clicking on the "plus" box.
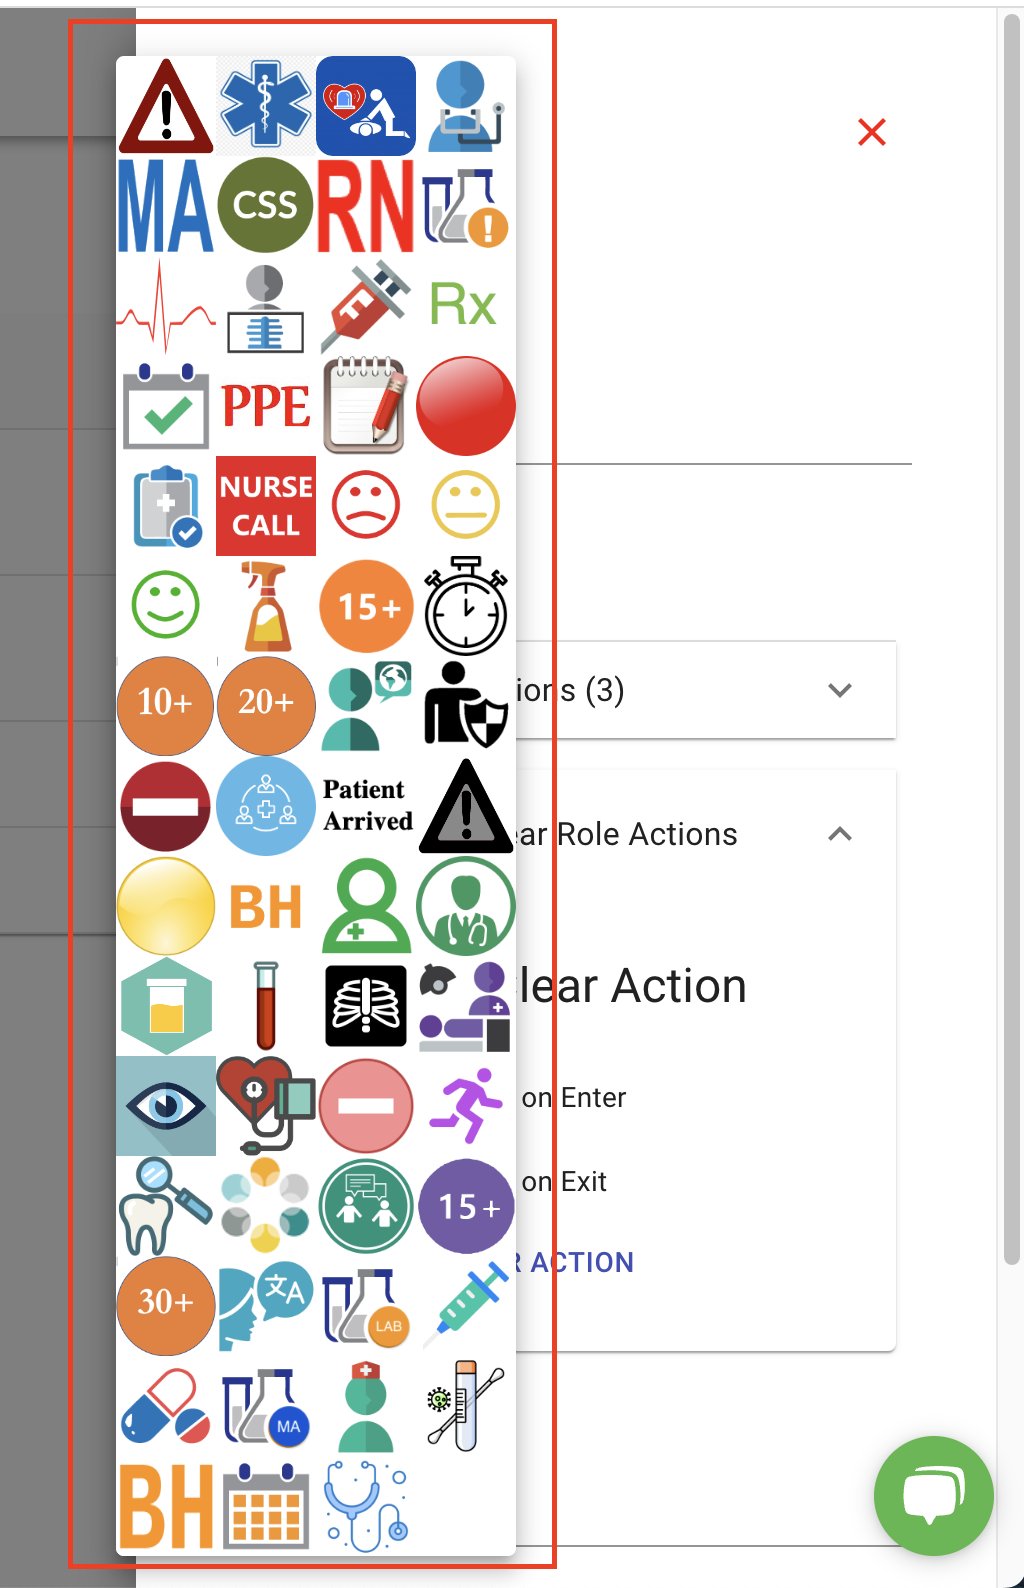
10. Select which icon you would like to auto clear based on that role.
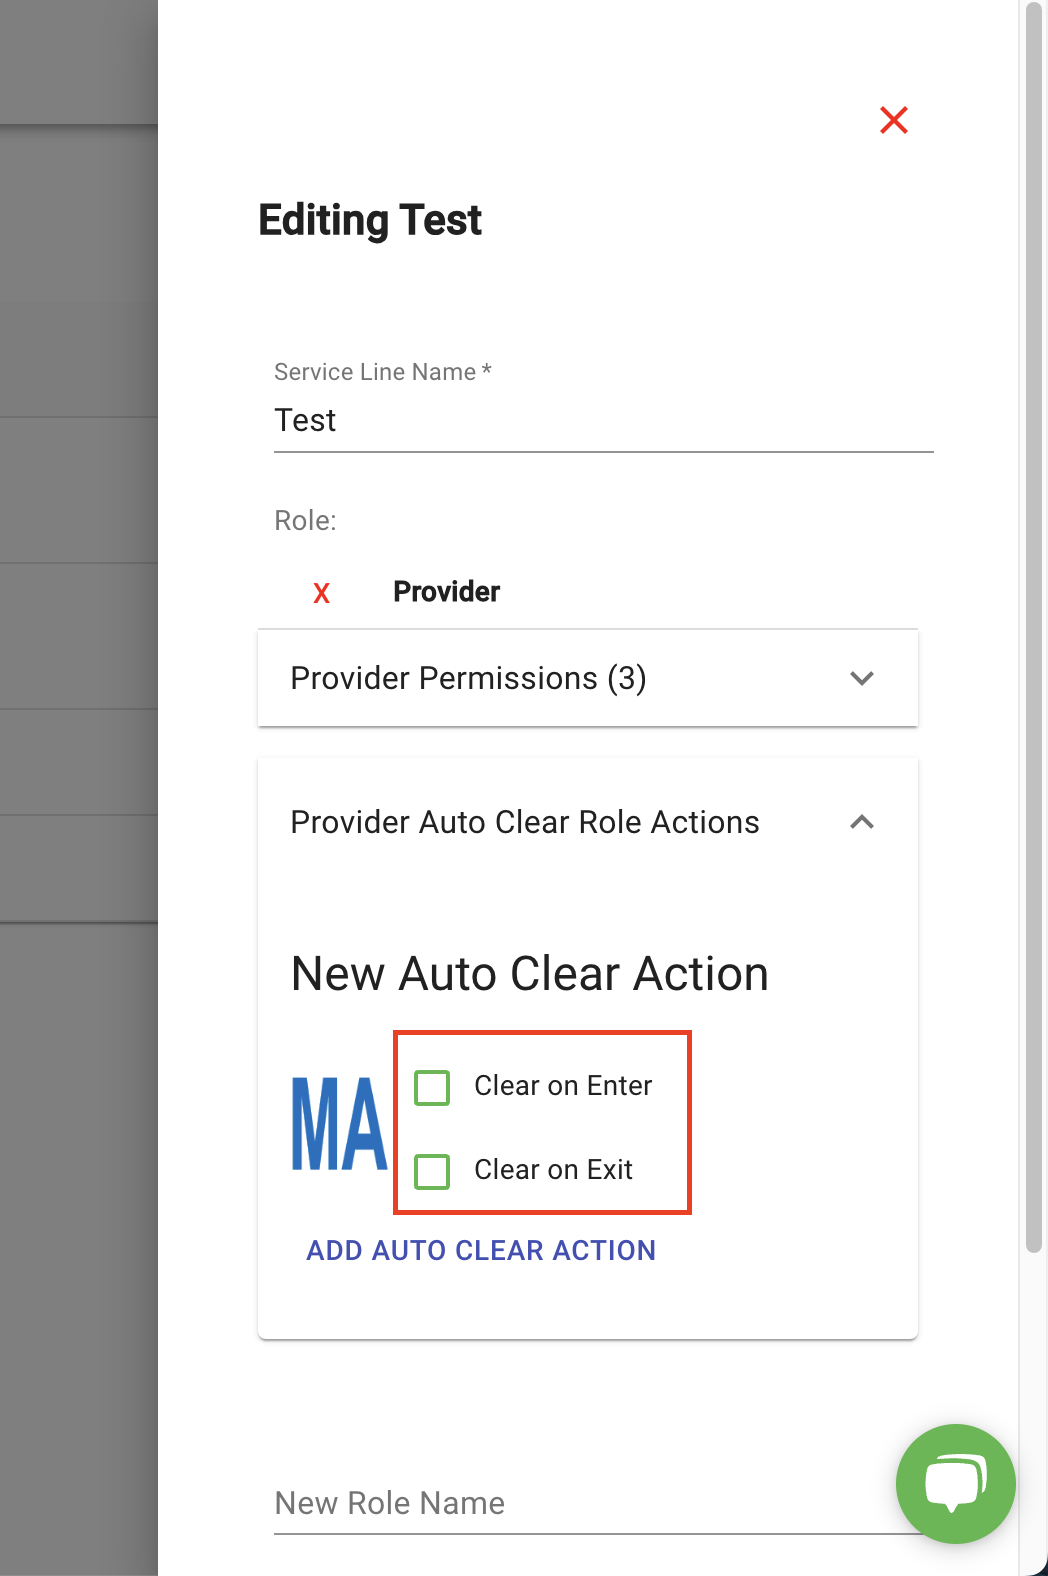
11. Then select how you want that to function. Either clear when that role enters the room or clear when that role leaves the room.
12. After you've set your permissions and added your optional auto clear actions, then click save.
