Users can be added in bulk from existing employee lists or individually within the SyncTimes system from the Users section in the Admin Console.
Update Service Lines and Roles before adding users. This will allow you to assign the Service Line and Role to the users.
Mass Import Users
When getting started with SyncTimes, it is easiest to import all your Users (staff, providers, admin, etc) at once.
1. Create/export a CSV file that includes at least four columns: first name, last name, and email address.
2. In the SyncTimes app, navigate to the Admin Console and select Users from the left-hand navigation menu.
3. Select the "upload" icon in the upper right-hand corner.
4. Drag and drop your .csv file into the window.
5. Click "Choose Columns" at the bottom right-hand corner of the Import Users window.
6. Map the fields by dragging and dropping corresponding columns. (e.g. First Name to First Name.) Notice that some of the fields might already be automatically mapped.
7. Click Import and review entries for accuracy.
8. Select the appropriate User Type for each user (staff or provider).
9. Click "Import Users". A confirmation screen informs the user how many imports were successful and how many were not. It notifies the user about why imports were unsuccessful and allows the user to correct/update failed imports.
10. After the import process is complete, you will see a list of all users on your Users page. Initially, each user will display the company logo as their profile picture until you choose to update it. You can modify profile pictures and other user settings at any time by selecting the individual user.
Adding Users Individually
Administrators may add users individually when there are new hires or when there are low volumes of users to add.
1. From the Users page in the Admin Console, click the "+" button in the upper right-hand corner.
2. Import an image of the User to be shown on the Flowstation, then continue by clicking "Next".
3. Add the User's first name, last name, and email address, then click "Next".
4. Choose the User Type (either staff or provider) and their corresponding service line.
5. Assign corresponding permissions.
6. Assign a badge to this User by entering the IR number that can be found on the back of the badge. See the Assigning Badge article.
Assigning a Badge to a User
1. Use the search function to locate the user by their name or badge number.
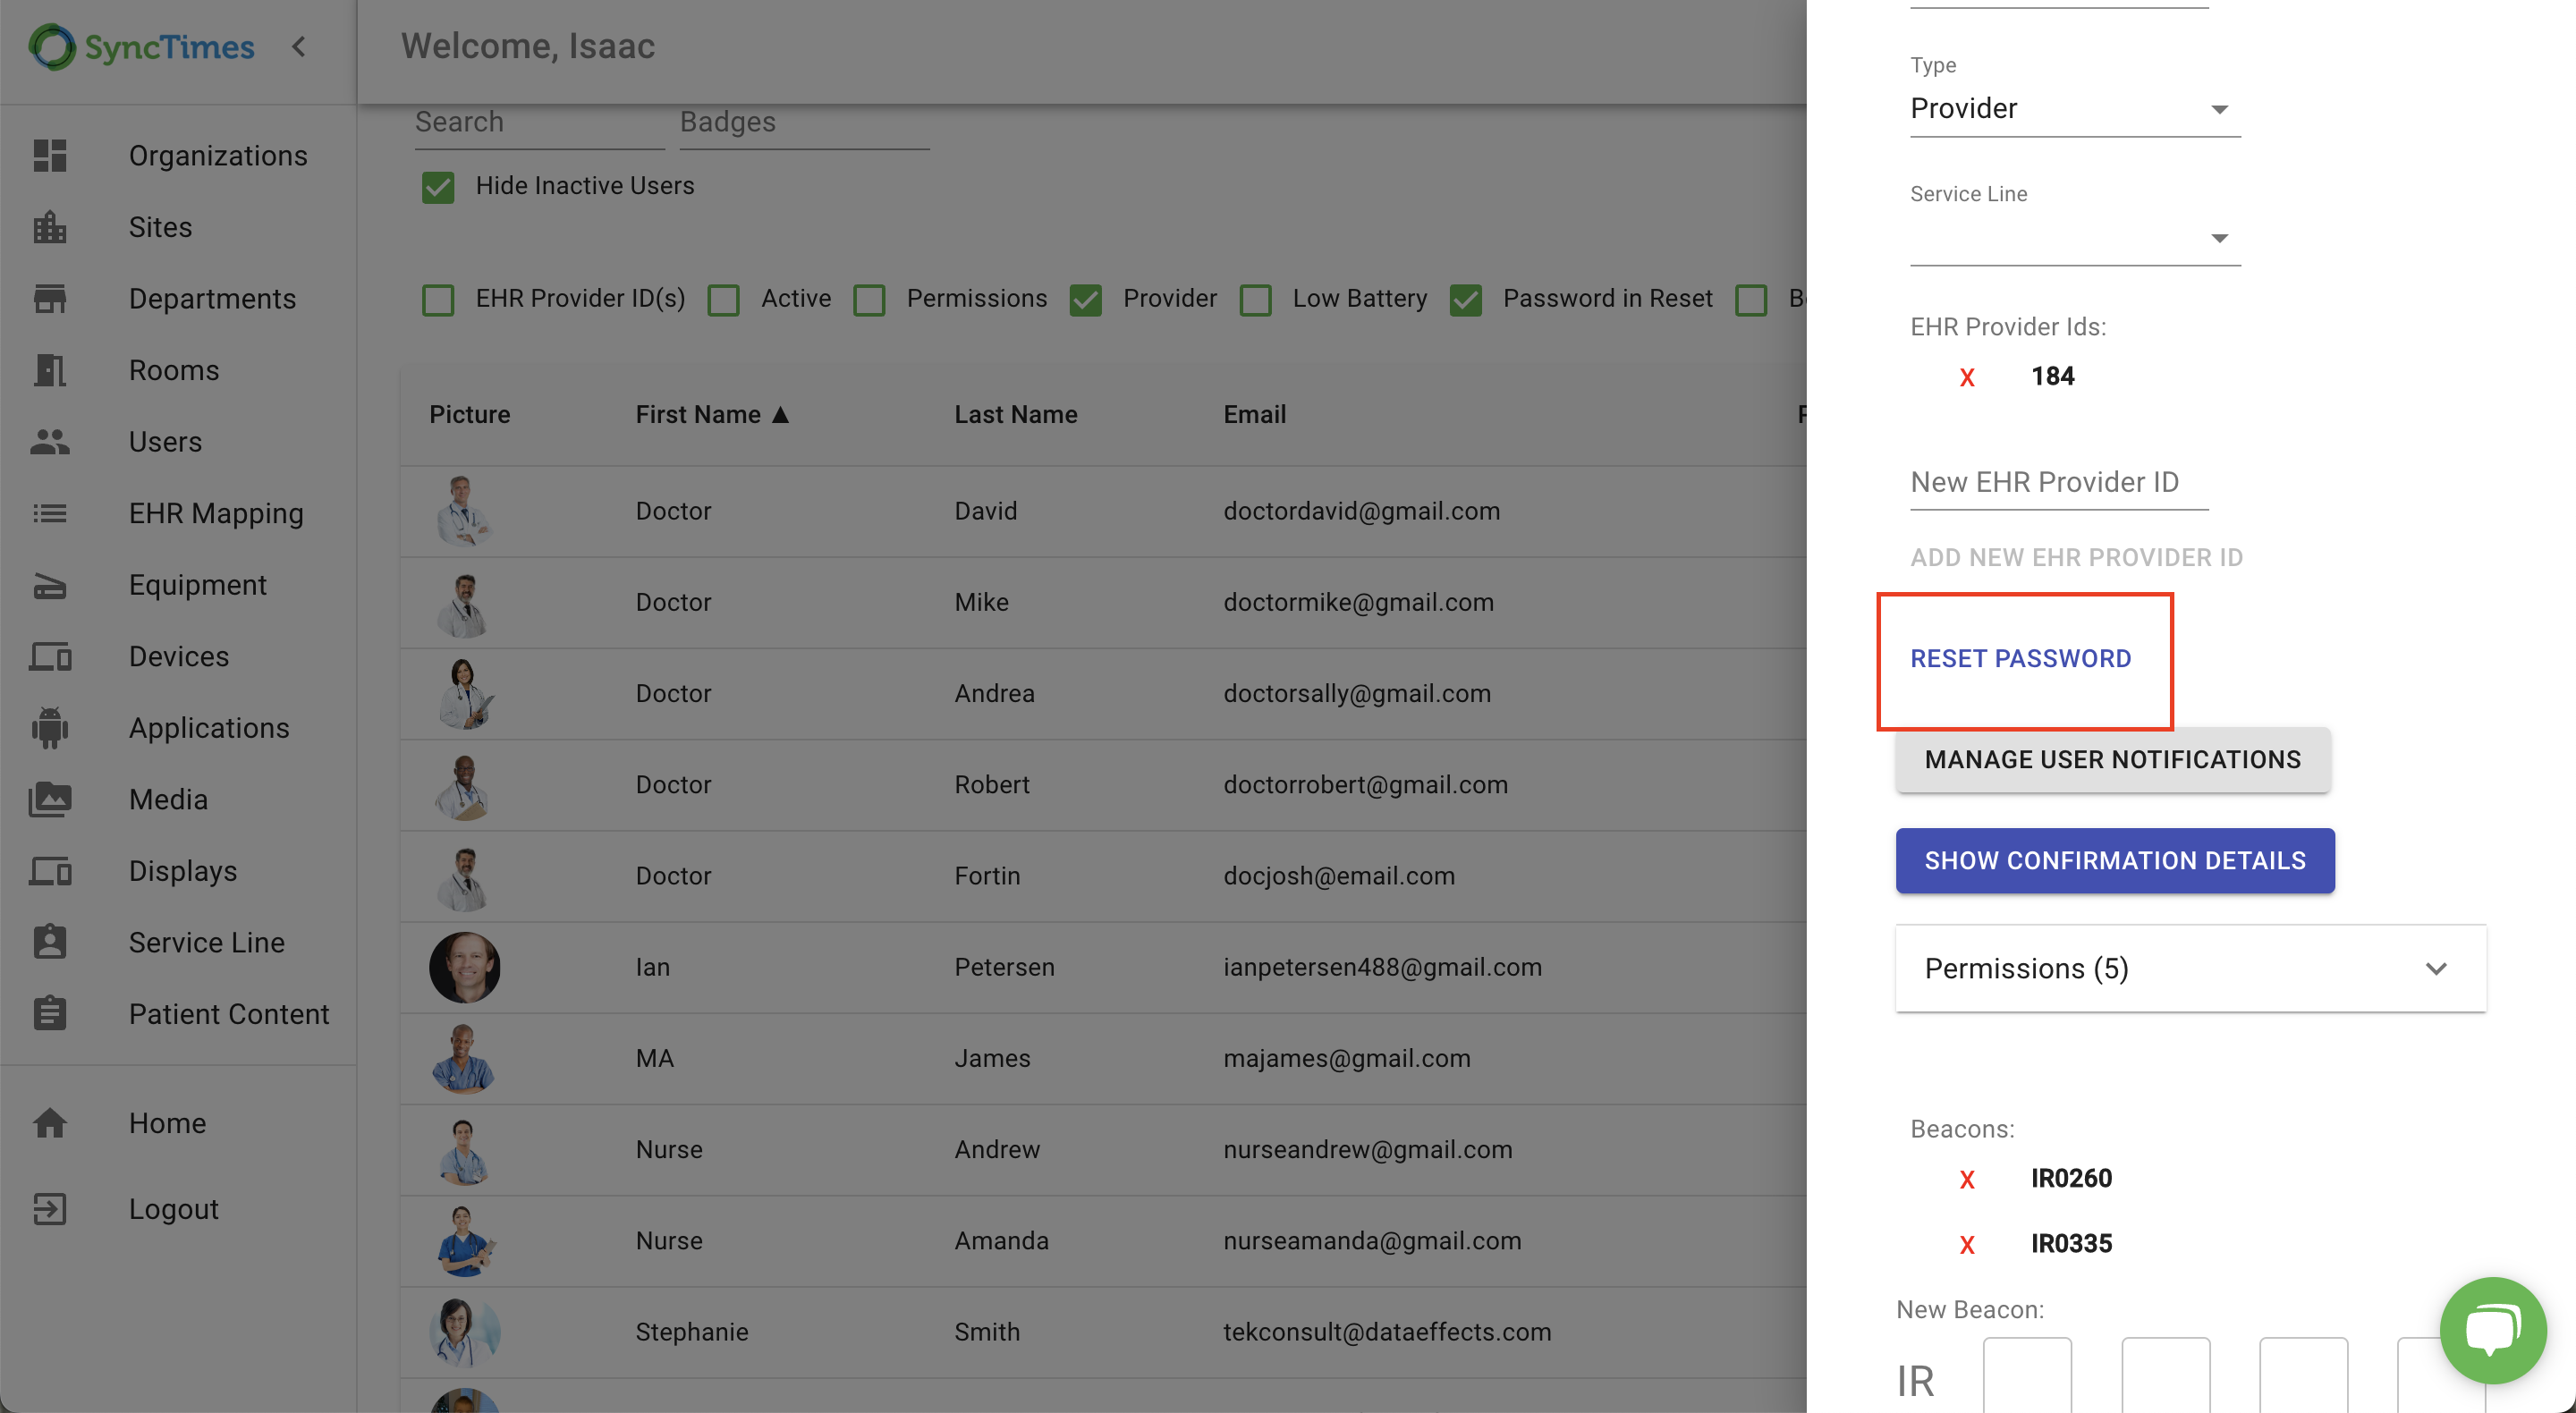
2. Click on the User's profile to open a menu on the right side of the screen. If the User has not yet been set up, please refer to the steps outlined in the "Adding Users" section above.
3. Input the Badge ID number in the designated field.
4. To complete the process, click "Add Badge" and finalize the badge assignment.
User Permissions

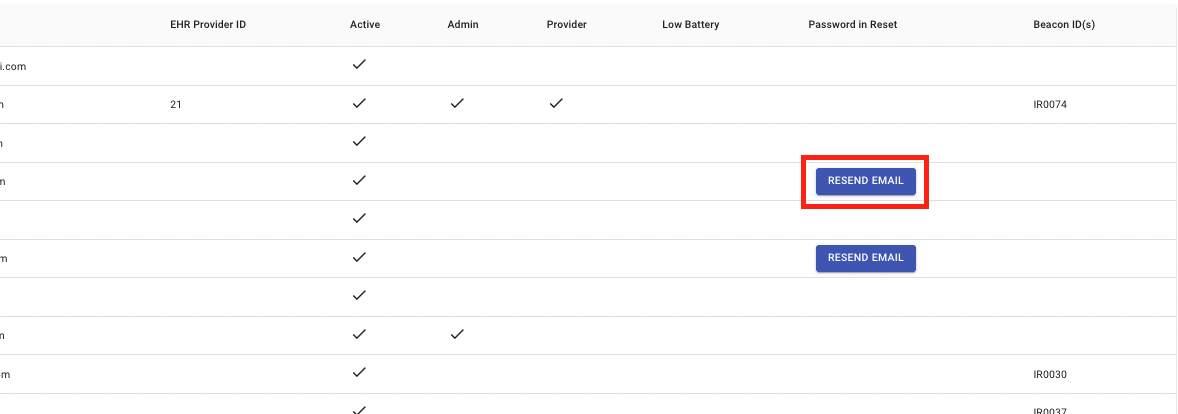
Resend Registration Emails for New Users


